
An explanation of custom sources that can be used with Hatch's public API
Contact source basics
Every contact in Hatch comes from somewhere. To keep track of where your data originated, Hatch stores a source value on every contact in your workspace.
Hatch automatically adds the source value to contacts that are created through an integration or directly in the app. You will see a unique value for every source.
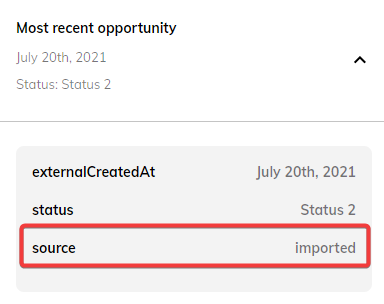
For example: contacts created through our Salesforce integration always have a source value of integration:salesforce. Similarly, contacts created through a CSV import always have a source value of imported (like you see in the screenshot above).
Custom sources
When contacts are sent through Hatch's public API, Hatch has no way to automatically determine the source of the contact. Instead, a custom source is necessary for Hatch to create the contact.
Custom sources are sources that you define. They appear in your contact data just like any other source in Hatch.
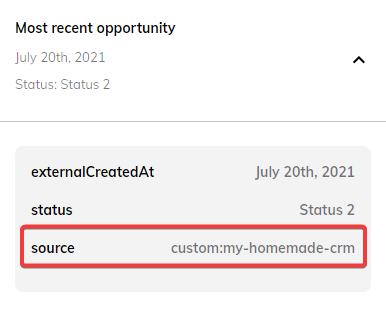
Each custom source has a unique API Source Name.

When sending contacts through the public API, you will need to provide the API source name in your request.
Click here to learn more about using the Hatch API.
Creating and managing custom sources
You can create and manage your custom sources in the Custom Sources tab of the App Marketplace.

How to create a new custom source
Follow these steps to create a new custom source:
- Click the Create Custom Source button
- Enter a label for your custom source
- Hatch will automatically generate the API Source Name
- Click the Create Custom Source button
The generated API Source Name must be unique for your existing custom sources
How to delete an existing custom source
Follow these steps to delete an existing custom source:
Once a custom source is deleted, you will no longer be able to use its API Source Name when sending data through the API
- Locate the custom source in the list
- Click the custom source's delete button
- When the confirmation appears, click Yes, delete